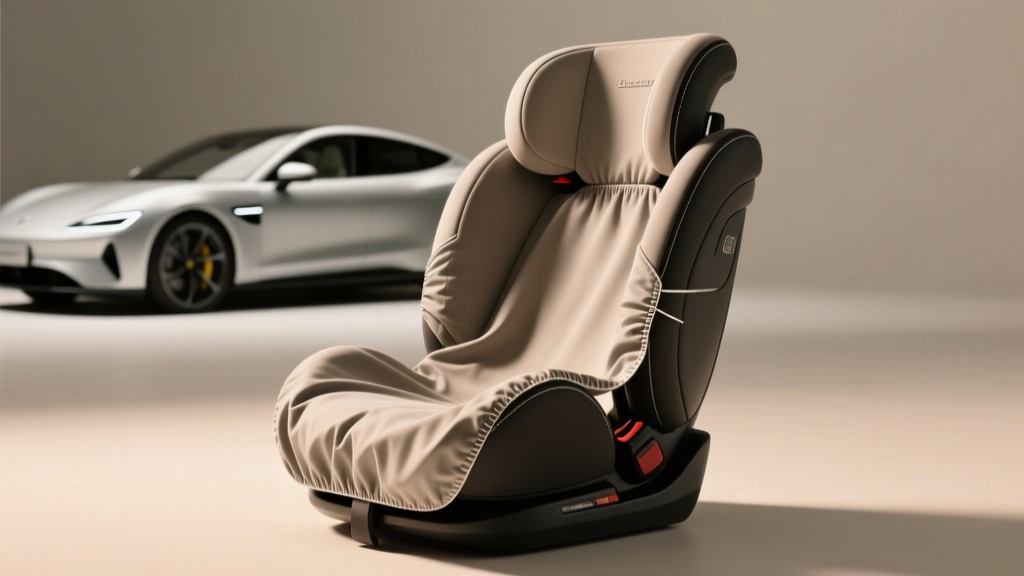
Slipcover Fitting Troubleshooting | CarInteriorMix
A well-fitted seat slipcover can make an older interior look new again, protect expensive upholstery from kids and pets, and add grip and comfort for daily driving. But anyone who?s installed one knows the other side of the story: loose fabric that bunches up under your thighs, headrest holes that don?t line up, a ?universal fit? cover that suddenly seems designed for a completely different vehicle.
This guide is built for real-world installs?sedans, trucks, crossovers, and everything in between. You?ll learn how to choose the right type of car seat cover, how to fit it step-by-step, and how to fix common problems like sliding cushions, wrinkling, and airbag seam concerns. If you want your car interior to look intentional (not ?thrown on?), you?re in the right place.
Before You Start: Match the Slipcover to Your Seats
Most ?fitment problems? start before you even open the box. Car seats vary wildly?integrated headrests, aggressive bolsters, removable bottom cushions, fixed headrests, split-folding rear benches, and side airbags all affect what will and won?t fit.
Universal vs. Semi-Custom vs. Custom: What to Expect
- Universal fit: Budget-friendly and widely available, but more likely to wrinkle or shift on sculpted seats. Best for flatter seats and quick protection.
- Semi-custom (vehicle-specific patterns): Usually the best value for daily drivers?cleaner fit, better headrest alignment, and fewer gaps.
- Custom tailored: The closest to OEM-looking results. Costs more and takes longer to arrive, but solves most fitment headaches?especially on sport seats.
Check These Seat Features Before Buying
- Side airbags: Look for ?airbag compatible? or ?tear-away seam? labeling on the outer seatback edge.
- Integrated headrests: Many covers assume removable headrests; integrated designs require special patterns or separate headrest sleeves.
- Power seat controls and lumbar knobs: Make sure the cover has access points or elastic edges that won?t block switches.
- Seatback pockets: If you want pockets, confirm the cover includes them and that they sit flat.
- Rear seat splits (60/40, 40/20/40): Rear bench covers must match your split layout to keep fold-down functionality.
Tools and Prep: What You?ll Need for a Clean Install
Slipcovers don?t require fancy tools, but a few basics make a big difference in fit and finish.
- Microfiber towels (for cleaning and protecting trim)
- Vacuum (get debris out of seams so covers sit flat)
- Trim tool or plastic pry tool (helpful for tucking without damaging panels)
- Seat cover straps/clips (often included; have extras on hand)
- Hair dryer or steamer (optional, for relaxing wrinkles on some fabrics)
- Small flashlight (to find anchor points under seats)
Prep Steps (Don?t Skip These)
- Vacuum the seats thoroughly, especially between the backrest and bottom cushion.
- Wipe surfaces with an interior-safe cleaner to remove oils that make covers slide.
- Move the seat all the way back and forward to understand where rails and wiring are.
- Remove headrests if applicable and set them aside.
Step-by-Step: How to Fit Front Seat Slipcovers
The exact process varies by brand, but this sequence works for most two-piece front seat cover sets (seatback + bottom cushion). Plan about 20?45 minutes per seat the first time.
1) Install the Seatback Cover First
- Orient the cover correctly (tag or label typically faces the rear/lower side).
- Slide it over the top like a sleeve, keeping seams centered on the seat.
- Work it down evenly on both sides to avoid twisting.
- Align airbag seams (outer side of the seatback). If it doesn?t line up, stop and re-center.
- Tuck excess material into the seat crack where the back meets the bottom cushion.
Real-world tip: If you have sporty bolsters, pull the cover down in small increments?front left, front right, back left, back right?rather than yanking one side all at once. This prevents seam drift and ?diagonal wrinkles.?
2) Secure Seatback Straps and Hooks
- Locate the straps (usually on the lower rear portion).
- Route straps around the seatback, avoiding sharp metal edges and moving parts.
- Clip or tie under the seat where they won?t interfere with seat rails.
- Snug, don?t over-tighten; too much tension can pull seams off-center.
3) Install the Bottom Cushion Cover
- Place the cover over the seat bottom and align the front edge first.
- Pull side panels down to wrap the bolsters.
- Tuck material into the perimeter gaps (front and sides) using a plastic trim tool if needed.
- Route and secure straps under the seat, keeping them clear of wiring harnesses.
Safety note: If your seat has airbags, occupancy sensors, or seat heaters, avoid stuffing thick foam or padding under the cover unless the manufacturer specifically allows it. Keep wiring unobstructed and never tape over connectors.
4) Reinstall Headrests and Finish Openings
- Find headrest holes (some covers have marked slits).
- Create clean openings by gently parting seams or using pre-cut slots?avoid cutting unless the instructions clearly say to.
- Slide headrests back in and zip/Velcro any collars if included.
Step-by-Step: Rear Bench Slipcover Fitting (Split Seats Included)
Rear seats can be straightforward on older vehicles and surprisingly complex on newer cars with integrated headrests and fold-down armrests.
1) Identify Your Rear Seat Layout
- One-piece bench: simplest fitment
- 60/40 split: common in compact and midsize vehicles
- 40/20/40 split: common in some sedans/SUVs with pass-through
2) Install the Seatback Section(s)
- Fold the rear seatbacks down if your vehicle allows it?this gives you more working room.
- Fit each section (left/right/center) and align seams with split lines.
- Expose latch points for folding mechanisms; many covers include Velcro flaps for this.
- Secure straps behind the seatback or in the trunk area depending on design.
3) Install the Bottom Bench Cover
- Remove the bottom cushion if it pops out (many do with two front clips). This makes a tighter install and cleaner strap routing.
- Wrap the cover evenly and secure hooks/straps under the cushion.
- Reinstall the cushion and confirm seat belt buckles are accessible.
Real-world example: On many SUVs, the rear bench cushion is fixed and doesn?t lift easily. In that case, focus on strong front-edge anchoring (tuck and strap tension), then stabilize the cover with non-slip backing or added under-seat clips.
Troubleshooting: Fix Common Slipcover Fit Problems
Problem: The Slipcover Slides Forward or Bunches Up
Most common causes: smooth upholstery (leather), weak anchoring, or incorrect strap routing.
- Use all anchor points (every strap/hook matters more than you?d think).
- Add non-slip material (thin rubberized shelf liner under the cover can help?keep it away from sensors and airbag areas).
- Re-tension evenly: tighten rear straps a little, then side straps, then re-center seams.
- Clean the seat: body oils and dressings make leather especially slippery.
Problem: Wrinkles and Loose Fabric on the Seatback
- Center the cover at the top first, then pull down evenly.
- Tuck deeper into the seat crack to ?lock? the cover in place.
- Warm the fabric with a hair dryer on low (keep moving, don?t overheat). Some polyester blends relax and tighten noticeably.
- Check sizing: if you?re at the tightest strap setting and still have excess fabric, the cover may simply be too large.
Problem: Headrest Holes Don?t Line Up
- Re-check orientation (many covers can be accidentally installed rotated).
- Pull the cover higher before cutting or forcing openings.
- Use pre-marked slots if included; avoid making new holes unless the manufacturer instructs it.
Problem: Seat Belt Buckles Are Buried or Hard to Access
- Locate buckle cutouts (often Velcro flaps).
- Don?t trap buckles under straps; reroute to keep buckles standing upright.
- Rear bench tip: remove and reinstall the bench cushion if possible?buckles route cleaner that way.
Problem: Airbag Compatibility Concerns
If your seats have side airbags, you need a cover designed for them. A generic cover with thick stitching on the airbag side can delay deployment.
- Look for labels such as ?SRS airbag compatible,? ?side airbag safe,? or ?tear seam.?
- Keep the airbag seam area unobstructed?no extra padding, clips, or tucked fabric on that edge.
- If the cover doesn?t match the airbag location, return it and choose a compatible model.
Problem: Cover Blocks Power Controls or Lumbar Knobs
- Use the intended access flaps (Velcro or elastic openings).
- Don?t cut new holes unless the brand provides cut guides; cutting can cause tearing.
- Choose a semi-custom set if your seat has complex controls?universal covers struggle here.
Product Recommendations: What Works Best for Different Needs
Instead of pushing a single ?best? seat cover, match the material and fit type to how you use your car.
Best for Daily Driving and OEM-Like Fit
- Semi-custom neoprene: snug, comfortable, and tends to stay put on bolstered seats.
- Vehicle-specific tailored polyester: often the cleanest look for the money, with better headrest alignment.
Best for Work Trucks, Dogs, and Heavy Use
- Cordura-style canvas: tough and abrasion-resistant; great for tools and pet claws.
- Water-resistant rear hammock-style covers (for pets): protects seatbacks and reduces slipping.
Best for Hot Climates
- Breathable mesh: cooler than neoprene or faux leather, especially on commutes.
- Light-colored fabric: reduces heat soak when parked outdoors.
Quick Comparison: Material Pros and Cons
- Neoprene: great fit and comfort; can feel warm in summer.
- Mesh: breathable; sometimes less ?tailored? appearance.
- Faux leather: upscale look, easy wipe-down; can be slippery and hot.
- Canvas: durable and grippy; can feel stiff at first.
Common Mistakes to Avoid
- Ignoring airbag labeling: if your seat has side airbags, don?t gamble with non-rated covers.
- Skipping strap routing checks: straps caught in seat rails can fray or interfere with seat movement.
- Over-tightening one side: pulls seams off-center and creates diagonal wrinkles.
- Cutting holes too early: once you cut, returns get complicated and fraying can start.
- Using silicone-based dressings on leather seats: makes slipcovers slide around.
- Blocking buckles or child-seat anchors: always confirm seat belts latch cleanly and LATCH points remain usable.
FAQ: Slipcover Fitment and Troubleshooting
How tight should a seat slipcover be?
Snug enough that it doesn?t shift when you slide in and out, but not so tight that seams are stretched, zippers strain, or airbag-compatible seams are pulled out of position. A little settling after a few days is normal.
Can I use a universal slipcover on sport seats with big bolsters?
You can, but it?s where universal covers struggle most. Expect wrinkles at the shoulders and hip bolsters and more movement over time. A semi-custom or custom fit is usually worth it for sport seats.
Will slipcovers damage heated or ventilated seats?
Most quality covers are fine with heated seats, but ventilated (cooled) seats can lose effectiveness if the cover isn?t breathable or doesn?t have airflow sections. Check the product listing for heated/ventilated seat compatibility.
Why do my seat covers keep sliding on leather?
Leather and leatherette are naturally slick, and interior dressings make it worse. Clean the seat, use all straps, and consider a cover with non-slip backing or add a thin non-slip layer underneath (away from sensors and airbags).
Should I remove the seats to install slipcovers?
Usually no. Most installs can be done with the seat in the car by sliding it forward/back for access. Removing seats introduces airbag wiring concerns and may trigger warning lights if done incorrectly.
How do I keep rear seat covers aligned on split-folding seats?
Use split-specific covers, align seams with the factory split lines, and secure straps behind each seatback section. Make sure latch points and release handles remain accessible before calling it finished.
Wrap-Up: Get a Tight Fit That Looks Factory
A clean slipcover install is mostly about preparation, proper alignment, and smart tensioning. If your covers slide, wrinkle, or fight your seat shape, don?t settle?small adjustments like re-centering seams, improving anchoring, and choosing the right material can transform the look and feel of your car interior.
Next steps:
- Double-check whether your seats have side airbags and confirm airbag-compatible covers
- Reinstall one seat using the ?seatback first, then bottom cushion? sequence
- Fix sliding with better strap routing and non-slip backing (when appropriate)
- If fitment is consistently off, upgrade from universal to semi-custom for your vehicle
Want more practical interior upgrades and how-to tips? Explore the latest guides on carinteriormix.com and keep your cabin looking sharp, comfortable, and protected.